Today it is one of my dearest friends’ 50th birthday, so I wanted to make her a really special and magical card to mark the occasion. I recently made my first ever C6 flower box card following instructions and a template given to me by a lovely bloggy friend (she knows who she is!), and I felt the concept had real wow factor … so when I saw a comment on FB about making one from a complete sheet of A4 card that would fold down to C5 when flat I was really excited … the same pzazz but bigger!! I soon worked out that all measurements had to be 50% bigger than for my original, so I followed the original template but scaled up accordingly. Here is the result.

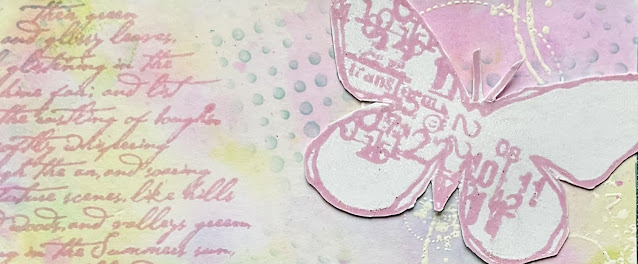
I cut and scored a flower box using a complete sheet of A4 white card, punched the flaps to form a scalloped floral edge, and covered the panels with co-ordinating green and aqua designer paper. I decided to step it up and decorate the box with a hand stamped scene rather than just paper, so I measured a piece of card which would cover the front and 2 side panels, and created a Lavinia magical scene - I created hills, sky and sun using masks and blended Distress Oxide inks, then stamped the fairy Olivia, butterfly and a variety of trees and flowers using various shades of a Versafine Clair and 1st/2nd generation stamping. I coloured Olivia’s wings and the butterfly with Sakura Stardust pens, and highlighted the scene with Stardust pens and white Posca pen on the summer flowers.
I cut the finished scene into 3 pieces and attached to the front and two side base panels of my “box”…
… then assembled the box shape by sticking down the end flap.
I then moved onto the floral bouquet, using larger floral dies than I used for my original box. I die cut a number of flowers and foliage stems from white card, and coloured them with blended Distress Oxide inks - I followed my friend’s tip of replacing the die cut into the card it was cut from for colouring.
I cut and scored three hinged card brackets, attached them inside the top of the box, then arranged my flowers and foliage onto 4 separate pieces of white card the same size as the brackets, secured with tape and attached to the 3 interior brackets and inside front of the box.
I die cut the number 50 twice from silver mirri card and attached to each side flap along with a mini butterfly punched from pink glitter card, then stamped the sentiment, cut out with deckle scissors, edged with blended pink DOX and attached.
I cut a piece of white card for the back outside panel (for writing on), stamped some 2nd generation dandelions and highlighted with Stardust pen before edging the panel with pink DOX and attaching.
I finished off by adding a silver die cut butterfly to the inside of the back panel, and some teeny heart gems to “dot the i’s” of the sentiment.
Stamps: Lavinia Olivia, Josie (falling dandelion seeds), Tree of Faith, Skeleton Tree Scene, Spring Trees, Summer Flower, Dandelions, Foliage Set, Bluebells, Lavender, Field Grass, Ducks, Butterfly Mini; sentiment - Dimension Fourth;
Media: Tim Holtz Distress Oxide inks (Rustic Wilderness, Mowed Lawn, Bundled Sage, Tumbled Glass, Broken China, Squeezed Lemonade, Kitsch Flamingo, Picked Raspberry, Shaded Lilac); Versafine Clair (Nocturne, Portobello, Acorn, Shady Lane, Avocado, Baby Pink, Hawthorn Rose, Shaded Lilac, Very Peri, Warm Breeze, Blue Belle); Sakura Stardust pens (pink, turquoise, clear); Posca pen (white).
Papers: LotV
Tools: unbranded floral dies; Provocraft Hippie Chick dies (numbers); Magnolia Doohickeys Butterfly Dreams die; Martha Stewart edge punch; X-Cut mini butterfly punch; Lavinia acetate Hill, Mini Hill and Circle masks.
Challenges I would like to enter:
(Lavinia stamps, Distress Oxides, sparkle and shine)
Simon Says - Celebrating 20 Years of Distress (#SSS20YearsofDistress)
I can honestly say that this was one of the most intricate, and it’s certainly the most time-consuming project I have ever made - I was working on it for 2 days! I’m so pleased with the result though that the effort was well worth it, and I’m really hoping my friend will love it as a keepsake for her special day.
Take care, and thanks for visiting.
Hugs,


